Recover My Photos has the capability to save files directly to a CD or DVD. Importantly, the is a secure process which does not write new data to the disk.
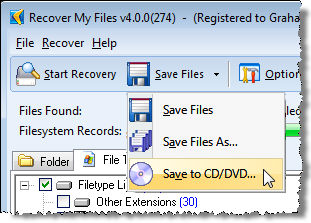
To save files to a CD or DVD, select the drop down arrow next to the "Save Files" button in the main program tool bar:

The CD burning window will then open:
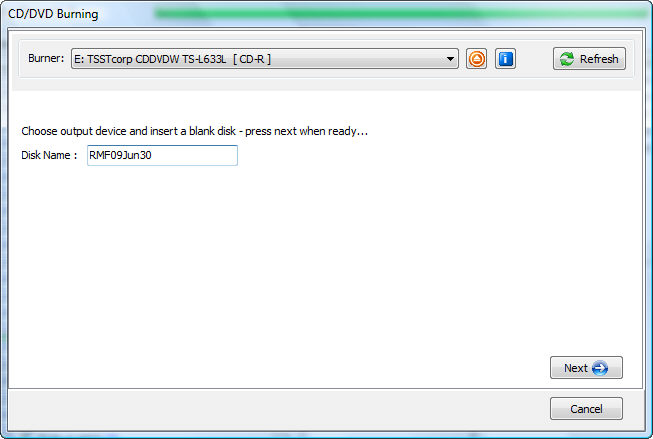
| Burner | Displays a list of supported available CD or DVD burners connected to your computer. If a CD or DVD is not inserted, it will say [No Media Inserted]. If a CD or DVD is inserted, it will identify the type of CD or DVD, e.g. CD-R. Click the "Refresh" button to ensure the information in this window is up to date. |
| The open/eject button opens the selected CD/DVD drive draw. | |
| The CD/DVD information button provides information about the currently inserted CD or DVD. | |
|
The refresh button re-scans the CD/DVD drive to provide new information about the currently inserted CD/DVD. |
|
| Disk Name | This is the name that is given to the CD/DVD. The default is "RMF[date]" but can be edited as required. |
Click Next and the following window will provide a summary of the data to be burnt to CD or DVD. This includes an estimation as to the number of standard CD (approximately 650 mb capacity) and DVD (approximately 4gb capacity) that will be required:
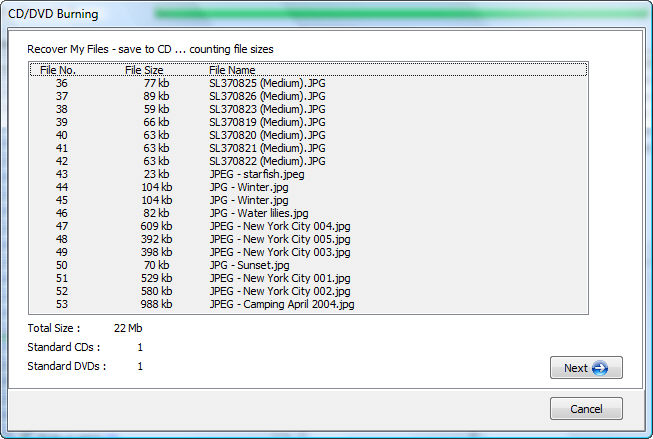
Click Next to start the burn process. Pay close attention to the burning log for any errors:
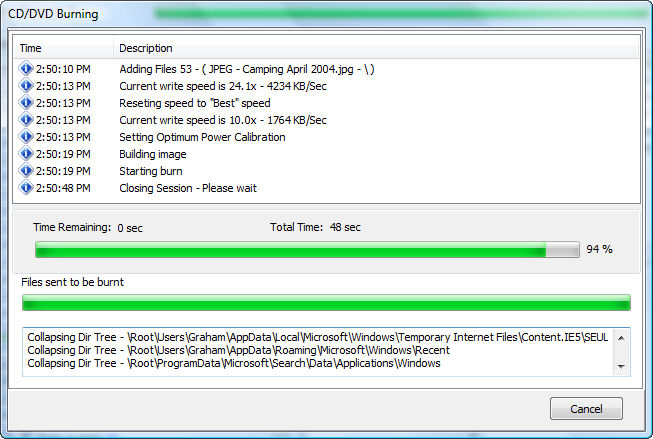
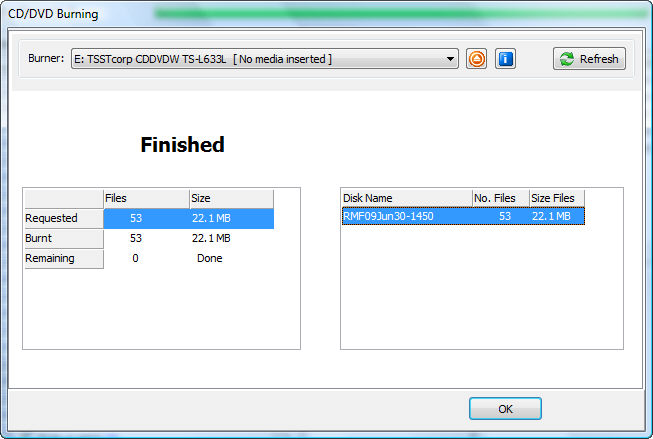
When the CD or DVD burning session is completed, a the following screen will display a summary of the burning process:
![]() Important: Once you have saved your data to CD or DVD, always check the contents of the CD or DVD manually to ensure that the data have been properly recorded.
Important: Once you have saved your data to CD or DVD, always check the contents of the CD or DVD manually to ensure that the data have been properly recorded.
Trouble Shooting - Saving Files to a CD or DVD
| Problem: | My burner or CD/DVD is not recognized. |
| Solution: |
|
| Problem: | The burning process fails. |
| Solution: |
Examine the event log for any errors that may indicate the source of the problem.
a brief but accurate description of the problem; a screen print of the CD/DVD Burning log.
|
|
|